28
2011How to photograph star trails and star fields – Chesterton Windmill, Warwickshire
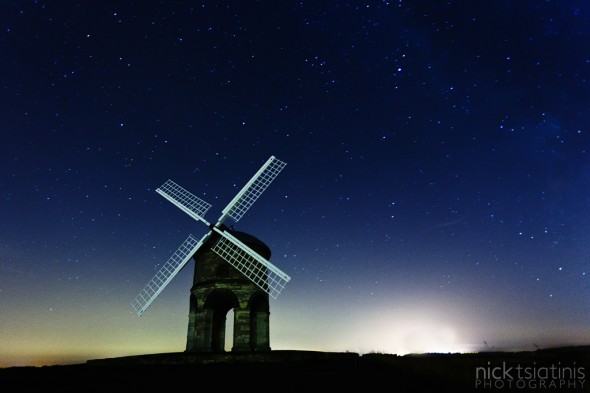
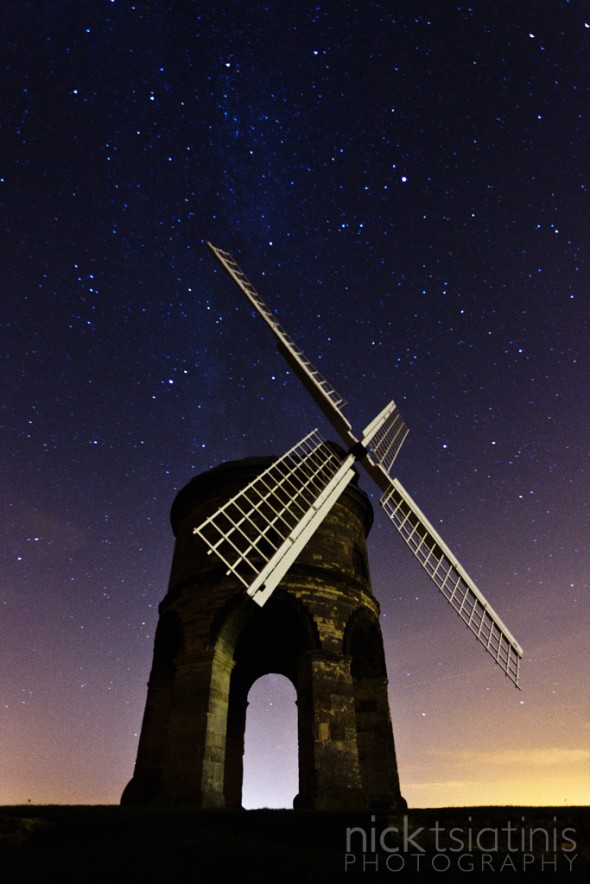
For today’s blog post I want to both share my photography from my star trails trip to Chesterton Windmill, and give a bit of a tutorial into how to get some of these shots for yourself. I personally believe there’s not much that’s more rewarding than capturing scenes that you wouldn’t always see with the naked eye – something a little bit different, and something that’s a little more technically challenging. There’s just something about astrophotography that appeals to me – maybe it’s the solitude whilst taking these photographs or maybe it’s getting that little glimpse into the universe that just reminds you there are all those other worlds out there, waiting to be explored…
Either way, this basic guide will show you how you can go and capture scenes like you see on this page with even the most modest of DSLR equipment, or you can sign up for one of my ‘star field / star trails’ workshops and I’ll take you out for some intensive tuition and show you first hand how to get photographs that will be a real talking point when you get them printed out large on your walls!
So, what do you need to be able to photograph stars?
- A Digital SLR Camera (or high end compact with a ‘Bulb’ function or ability to choose long shutter speeds)
- A wide angle lens
- A tripod
- that’s it!
- A wired remote control for your camera – preferably with intervalometer function
- A clear night sky
- A dark location
- Firstly, the stars are always moving in the sky – if your focal length is long (above 30mm or so) or if your shutter speed is slow (between 30 seconds to a minute) then your camera will begin to pick up the stars moving. This is called a ‘star trail’ and may (or may not) be a desired side effect. We’ll come to that later. If you have a wide angle lens (the 18mm on a standard 18-55mm kit lens on a crop sensor camera – or 24mm or wider on full frame is the minimum you want really) then this minimises the movement.
- The next thing to bear in mind is the ISO on your camera and aperture on your lens. You’re shooting at night – it’s pitch black, the stars aren’t that bright – you’re going to need as much light entering your camera as you can possibly get, so you’re going to want an ISO around 1600 and an aperture of f/4 at least.
- Thirdly, you need to remember that the stars are quite far away, so to have them relatively sharp in your photograph your focus needs to be set towards infinity.
- And finally, you’re well into long exposure territory, so get your camera mounted on a tripod otherwise all you’re going to photograph is a sea of blur!
- Put your camera to manual or bulb mode
- Dial in an exposure time of 30 seconds
- Put your ISO to 1600 (if it can’t go to 1600 put it as high as you can)
- Set your lens to the widest aperture it can go to
- And choose the widest focal length
- And put it in manual focus and focus to infinity
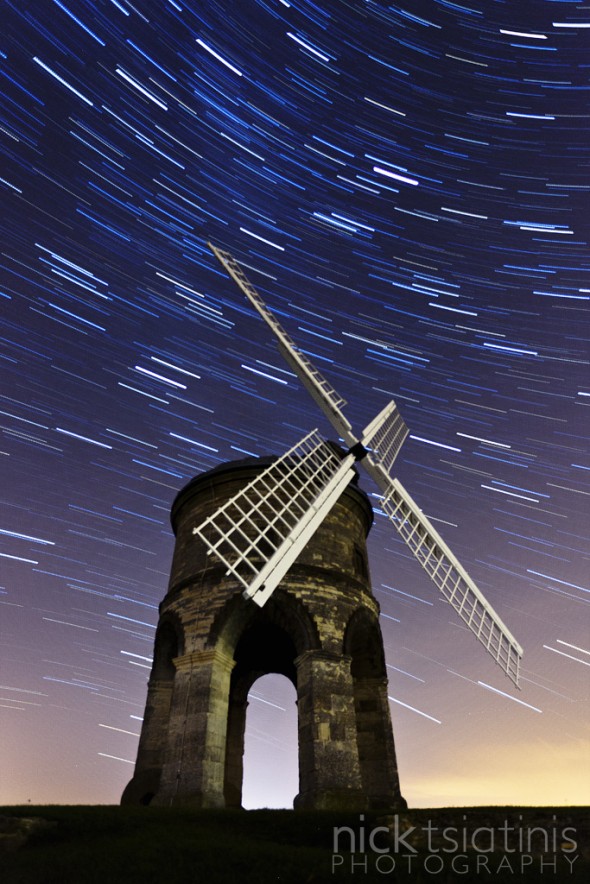
Once you’re happy with how your star fields are working out, then you can move on to photographing star trails. The easiest way to do a star trail is to take a sequence of star field photographs and then blend them all together in Photoshop or a 3rd party program. This is where a timer remote or intervalometer will come in handy.
If you have an intervalometer then set it so that the shutter speed is 30 seconds, the time between photographs is 1 second (gives the camera chance to save the image) and that you’re taking a sequence of 35 photographs (for a reasonable sized trail). If you don’t have an intervalometer then you’ll have to get your settings as per the star field tutorial above and just keep firing the shutter manually for 30 exposures, starting a new exposure as soon as one is finished.
Once your intervalometer has done its job, or once your trigger finger is worn out then you’ll have 30 exposures on your memory card, each one will have the stars in a slightly different position.
Now comes the hard work. You need to go home and load each image into Photoshop – copy and paste each photo onto the top of the first one so it creates a 30 layer photograph, then set the blending mode on each layer to ‘lighten’. Once you’ve finished, you’ll have a photo that looks something like…
Alternatively you can load all the images (saved as jpegs) into a program such as Startrails.de which will automate the layering for you. Either way you’ll get an interesting photograph as a result!
If you’re interested in attending a ‘Star Field / Star Trails’ workshop then please enter your details into the form below. Workshops cost £65 and will get you a minimum of 3 hours group tuition photographing star trails at Chesterton Windmill near Leamington Spa where the aim will be to create photographs similar to the above. Dates are to be decided but depend on weather conditions. Availability is limited and is first come first served!
Error: Contact form not found.
Thanks for reading, and see you for the next tutorial!


Old John Star Trails and Star Fields at Bradgate Park, Leicester | Nick Tsiatinis Natural World Photography
[…] Shop « How to photograph star trails and star fields – Chesterton Windmill, Warwickshire […]
20-02-12 Love Photography Weekly Showcase
[…] this?Read more… […]